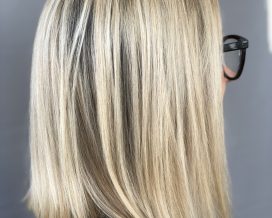
Today’s Tuesday Tip features this side braid hair tutorial that was recently featured on the Latest Hairstyles.
1. Using a brush, smooth out your hair and gently pull it all to one side.
2. Create a side part with a tail comb, just above the arch in your eyebrow.
3. On the side of your hair opposite your part, take a small vertical slice of hair.
4. Split this section into two pieces and smooth them with your fingers and a tiny amount of pomade.
5. Gently tie a “knot” with these two pieces like how you would tie your shoes.
6. Gently pull to secure the “knot”. Now you can either pin this into place or create another section by simply repeating steps 3-5. Just be sure to include the previous two strands of hair.
7. Finish the look with a quick all over spritz of a light hold hairspray.
*For another styling option, after you complete step 6, gather all of your hair into a low ponytail and secure with an elastic. Wrap a small section of hair around the base of the ponytail and pin it to conceal the elastic. This gives a more polished look to the pony. Set the style with a light hold hairspray.
Graphic Design by Grace Abbott


